Scratch built Australian-style cocktail MAME cabinet
- Note: This project was done way back in 2007, and photos were taken on rubbish digital camera. Apologies for the eye-bleeds.
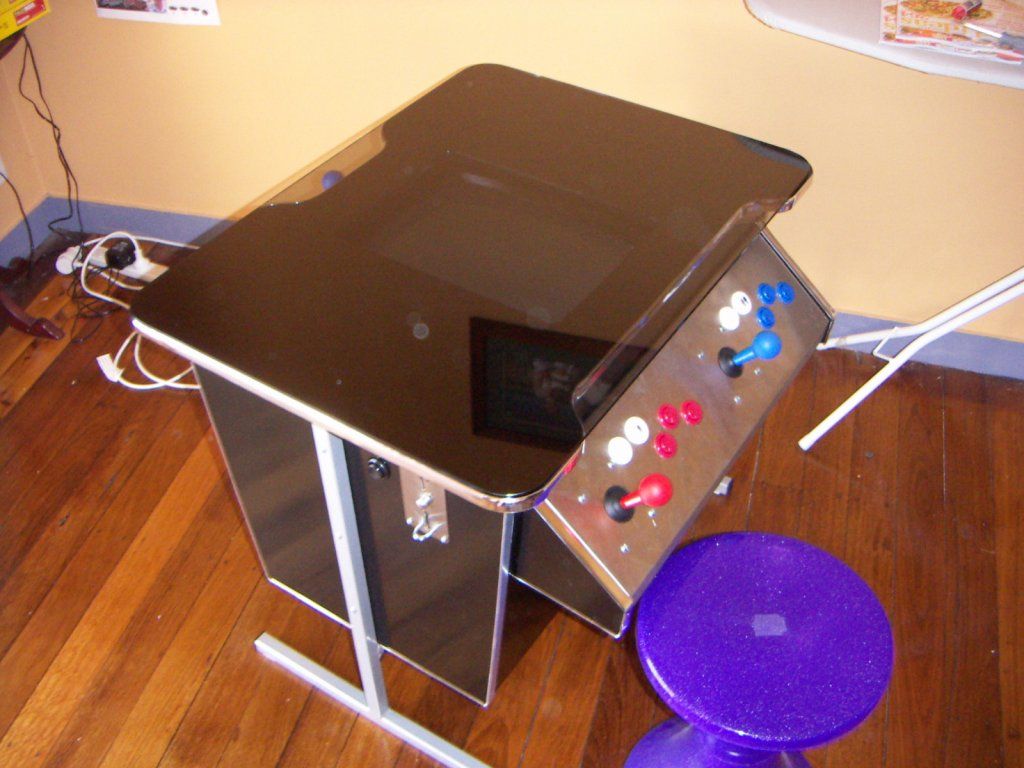
After building my original upright cabinet, the urge hit me to do a cocktail version. Growing up in the 80's, the LAI (Leisure and Allied Industries) style cocktail cabinet was a pretty popular style of "sit down" or "table top" cabinet. Here in Australia, the style was a bit different to the common American-style cocktail cab that was more cube shaped. The Australian design is rectangular, with players sitting on the long sides of the cabinet.
As my first cabinet had a horizontally mounted monitor, I decided to make this second cab with a vertical monitor. With that in mind, I checked out MAWS to find that all the vertical games used at most 3 fire buttons. This would greatly reduce the complexity of my control panels, and save some cost.

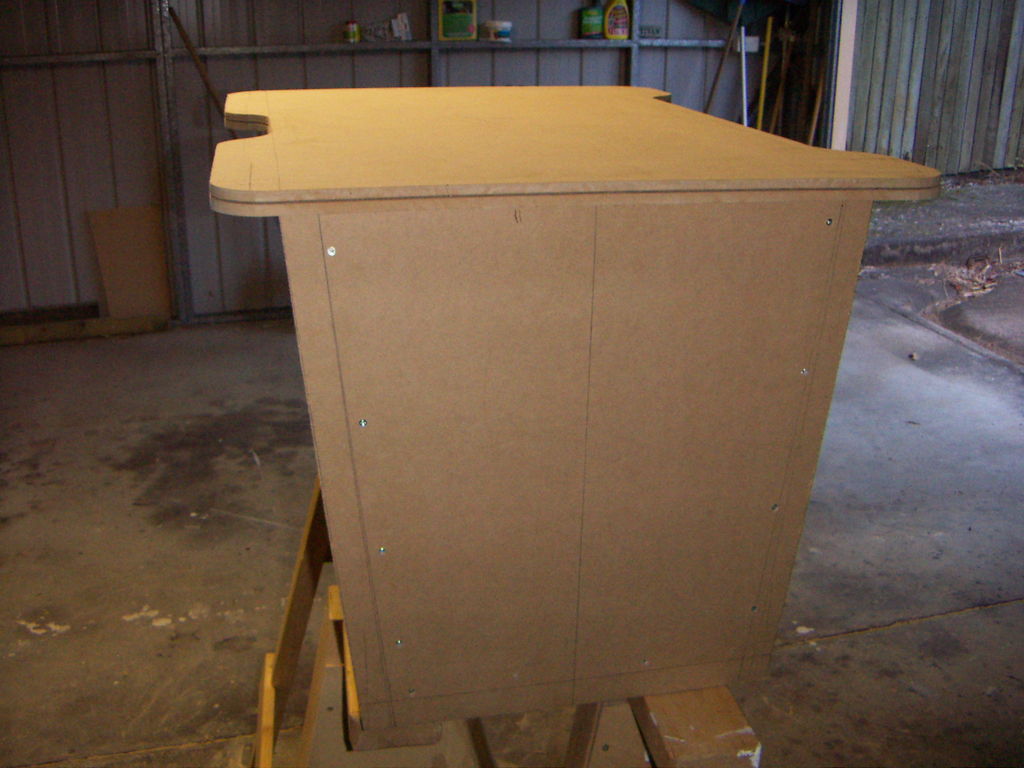
As with all my projects, they start life as a plain piece of 18mm MDF.

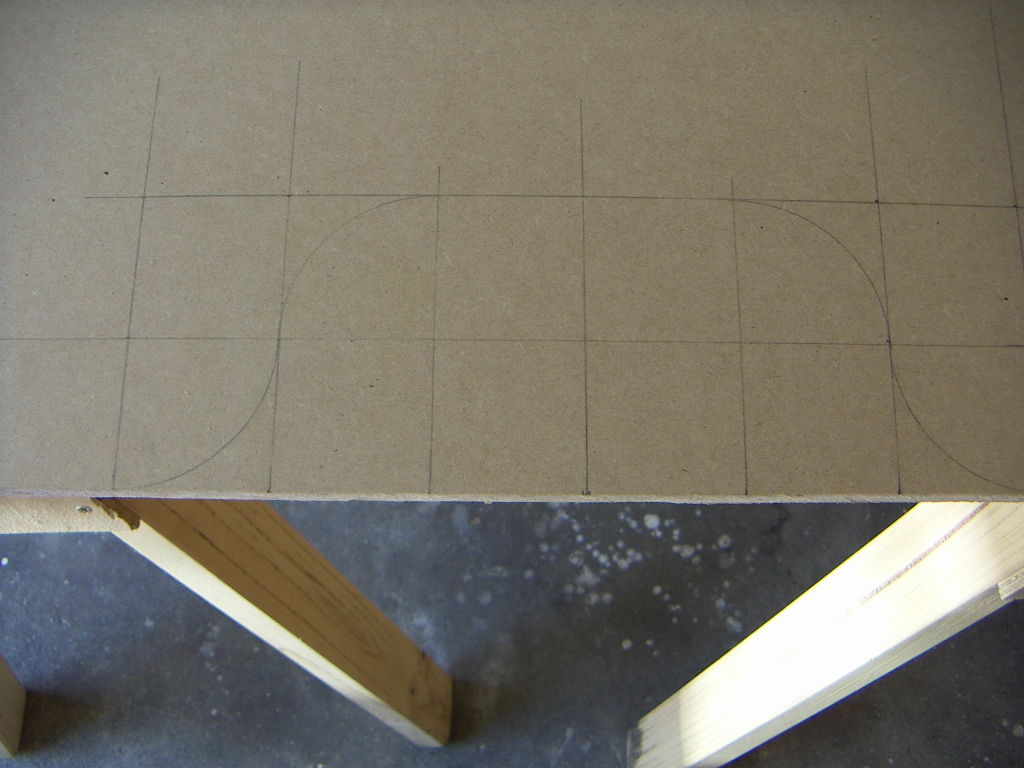
My assistant and I draw the designs from the CAD drawing onto the wood, preparing for the cuts.
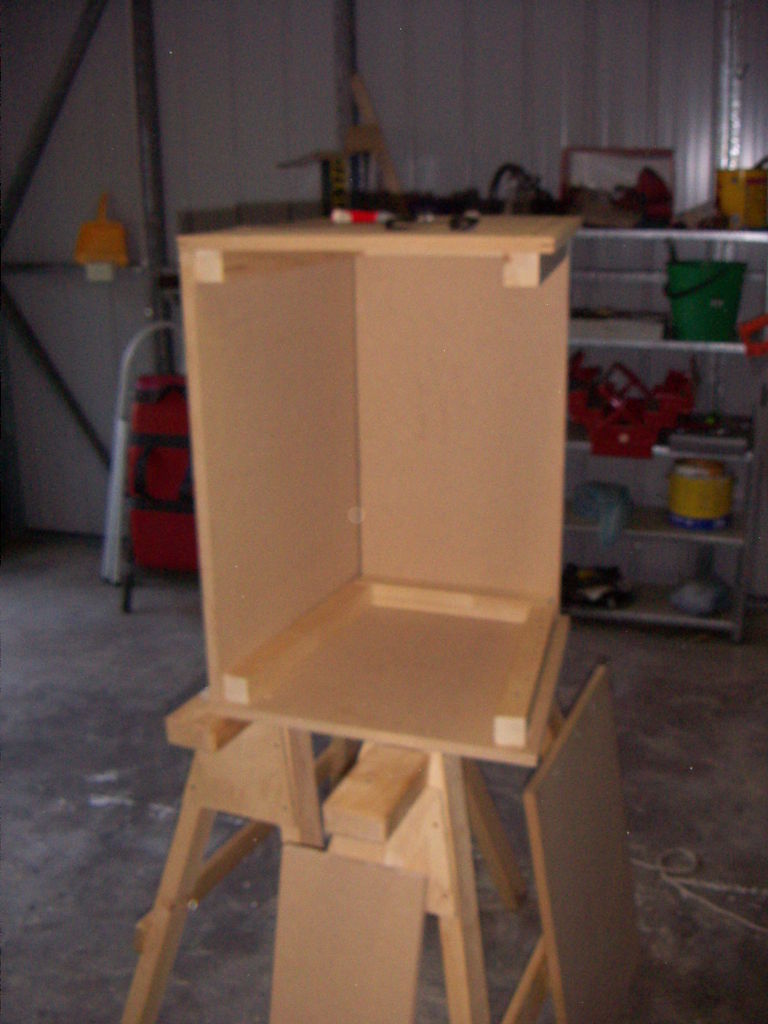

Assembly begins. As with my previous cabinet, 40mm square pine framing is used to join all sides together. Some would call it overkill, I call it having three kids and needing everything I make to survive them.
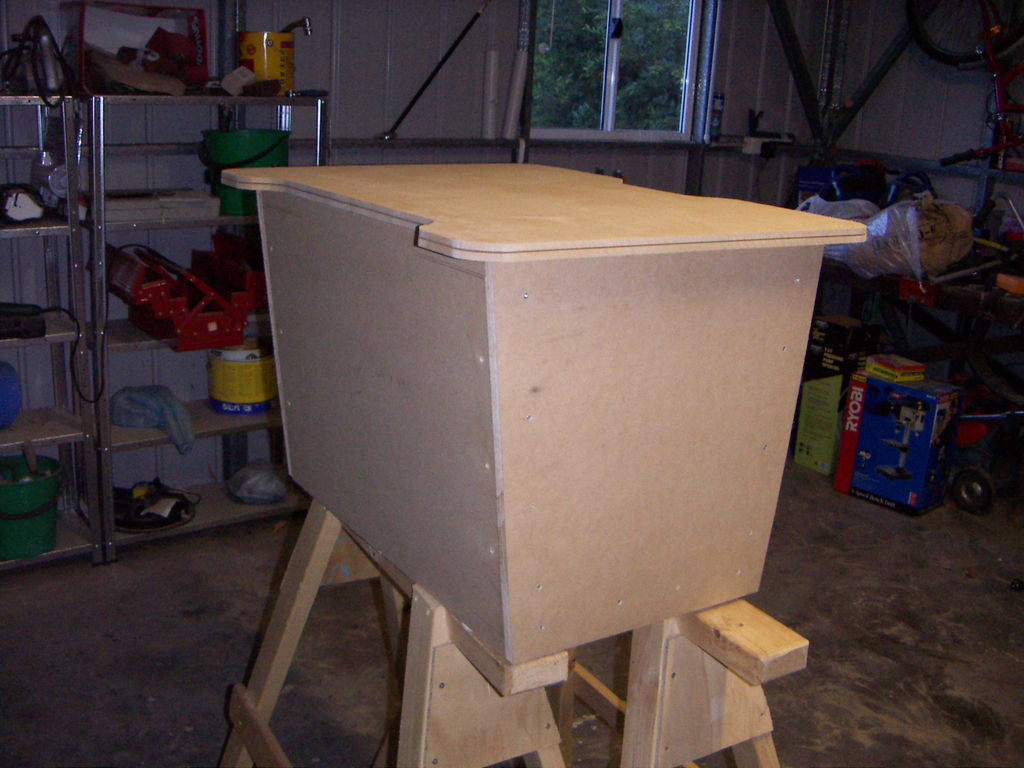
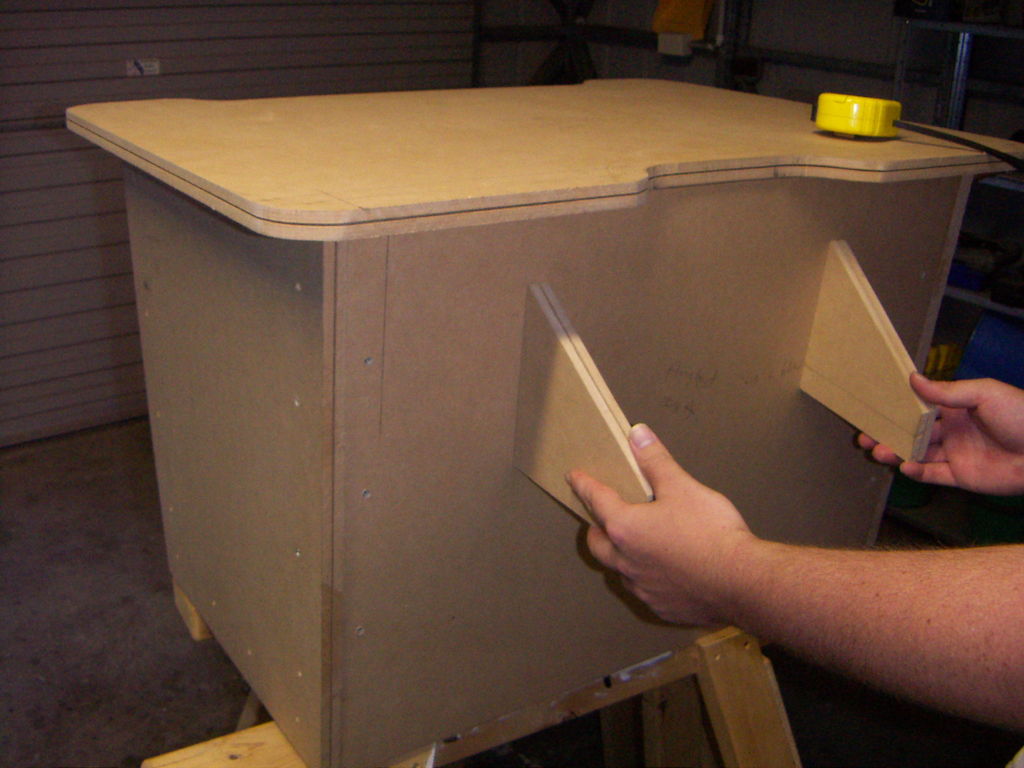
The box and lid are complete. The control panel wings are eyeballed for placement.
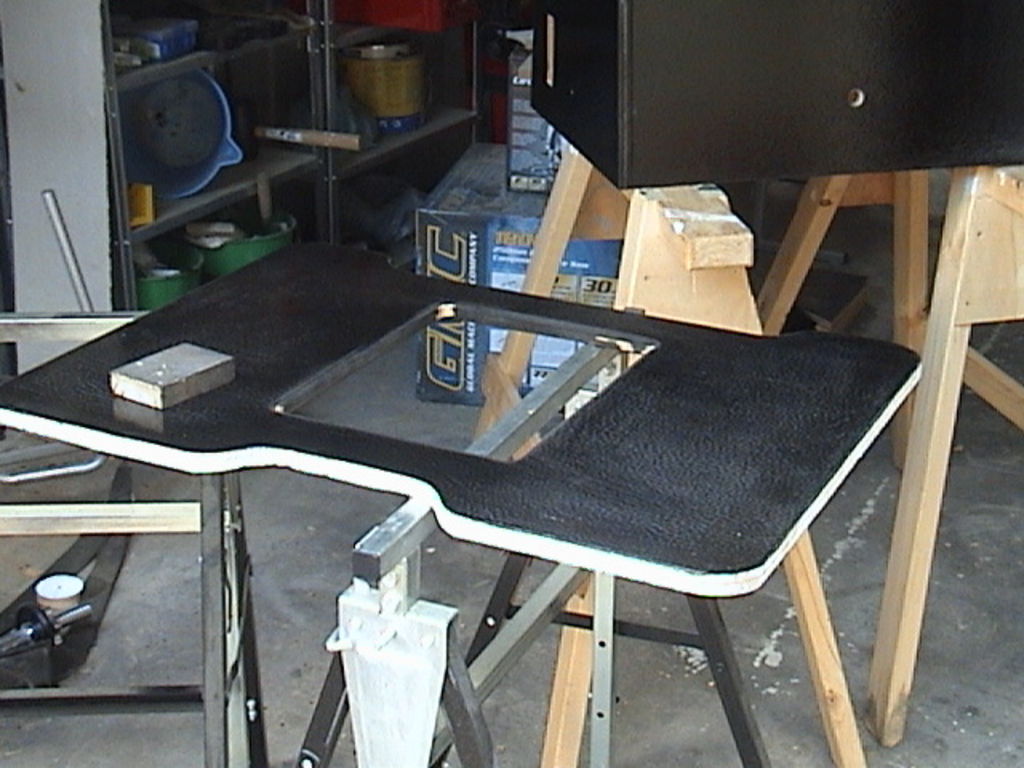


Painting begins. I'm using the same paint here as on my earlier cabinet. Undercoat is just a cheap all-in-on sealer/primer for MDF. Topcoat is a (not cheap) 80% gloss "Jet Black" enamel, rolled on with a short mohair roller. Dry time is pretty severe at about 48 hours (and still tacky to the touch after that). Sanding between coats can be a bit of a pain, but is necessary to get a good finish. If you wanted a proper mirror finish, a spray gun would be recommended. I like the mottled look the roller gives, and it helps to hide fingerprints from grubby little hands.
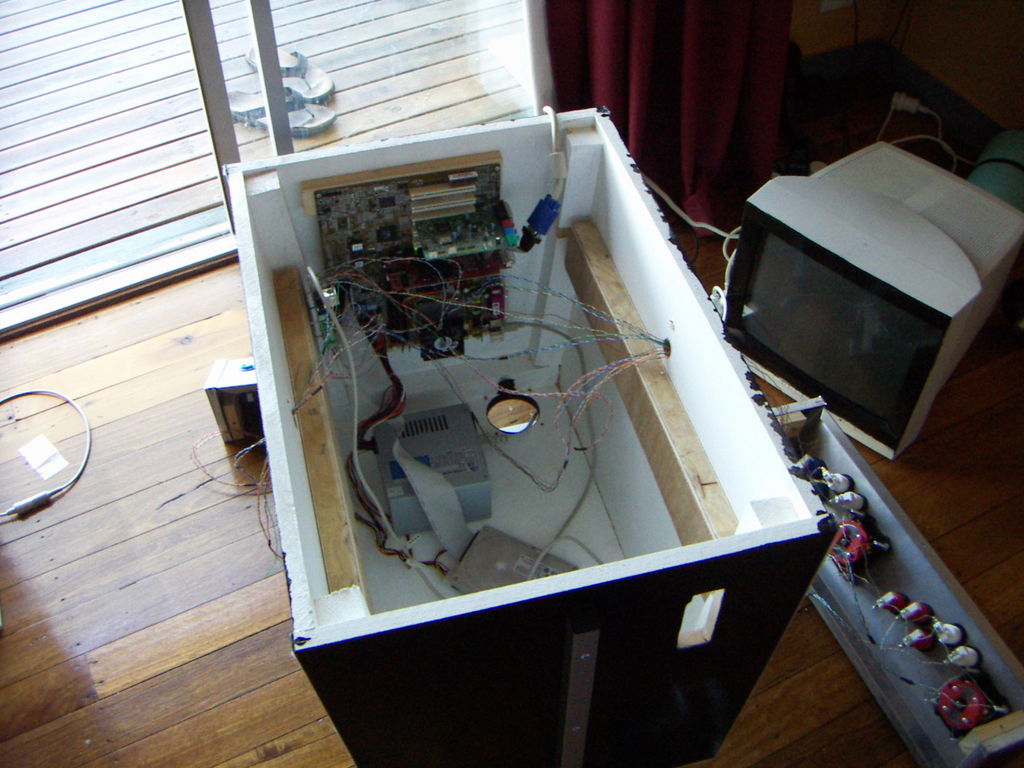
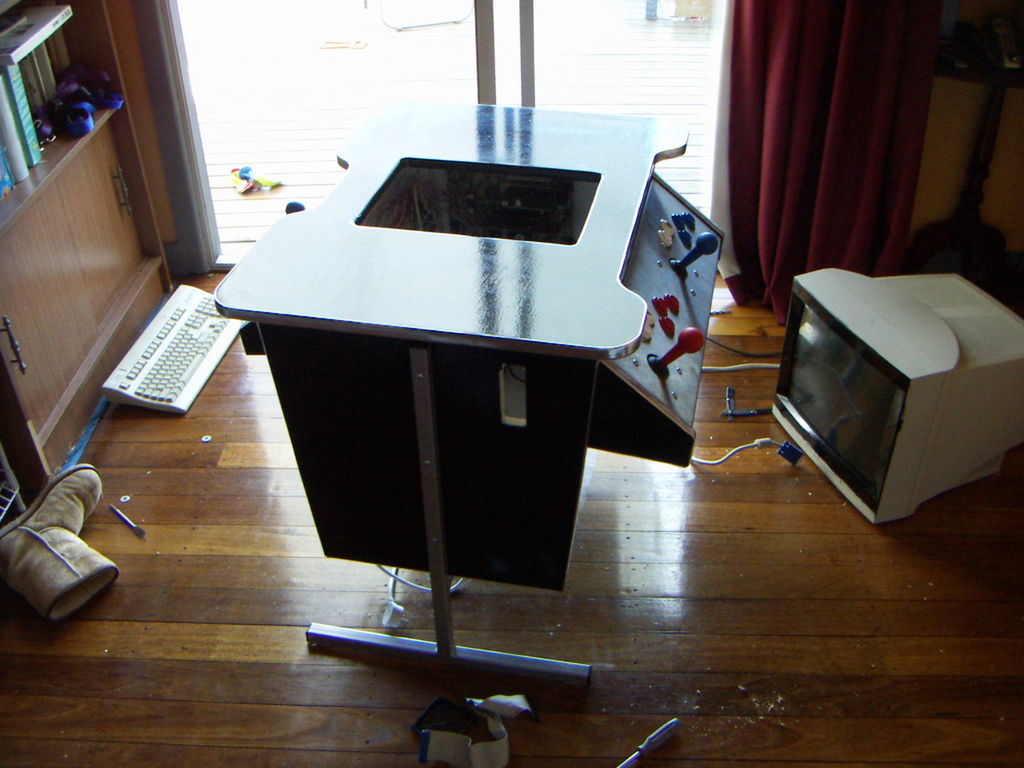
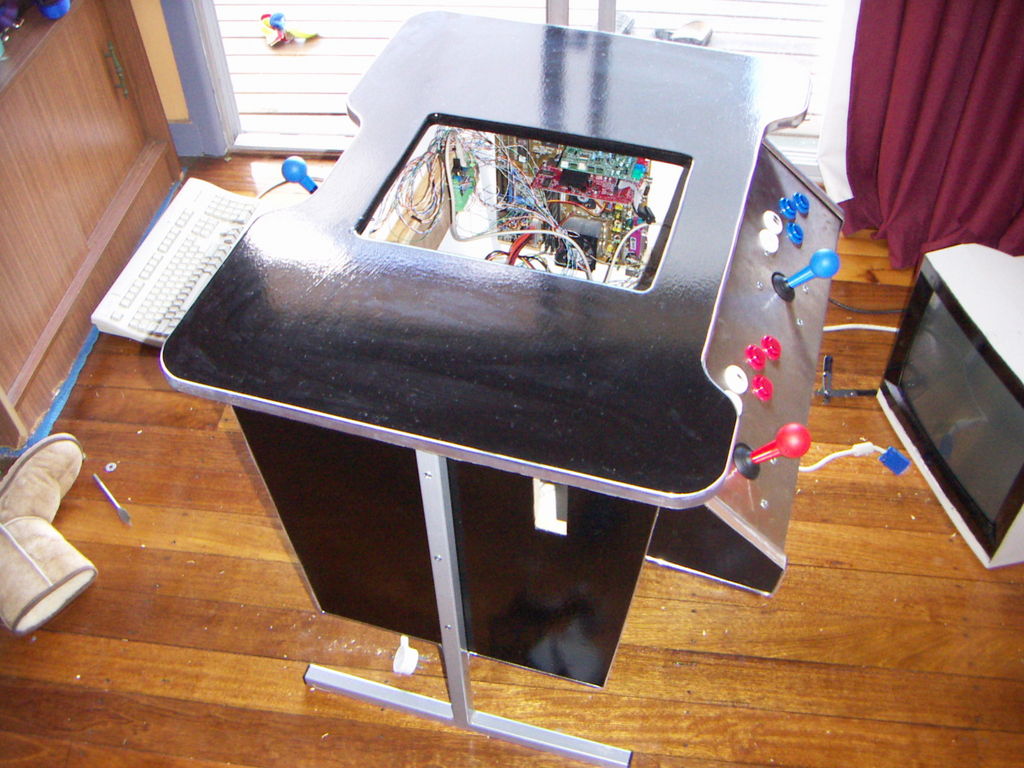
Painting is finished, and the electronics are wired up.
I've used just a generic 17" PC monitor, and painted the bezel black. The unit is held in place by two bits of 40mm square pine framing. I considered decasing the monitor, but with small children who would love nothing more than to stick their little hands inside the machine or spill drinks on it, I decided against it. Maybe in a few years I'll come back to the project, decase the monitor and investigate an external bezel. For now, it will do without, even if it makes the monitor a little too recessed into the top, but I can live with that.
(Edit: this page documents the original 2007 internals. These have changed several times over in the following years, and will likely be migrated to a Raspberry Pi or similar single board computer in the future).
The PC inside is an AthlonXP 1500+ clocking in at 1.33GHz. 512MB RAM is on the unit simply for Gunbird 2 (one of my favourite vertical shooting or "shmup" games) which occupies 300MB when decompressed. That's just over the 256MB limit, and causes swap thrashing when playing it (killing the framerate, and making it unplayable).
I use Slackware Linux 9.0 but with a VERY minimal install. The entire OS and the GCC compiler occupy about 100MB of disk space.
I decided to run AdvanceMAME and it's companion frontend, AdvanceMenu. I've used the SVGALib output (which required compiling the 1.9.x development release of SVGALib) which means I don't need a complete X-Windows install, saving a lot of space.
Using AdvanceMAME's output (standard MAME will do the same), I filtered a list of vertical-only games. I used this list to write a script and copy only the vertical games to the hard disk. Final install size? Operating system plus emulator, front-end and all vertical games - 2 GigaBytes. Not bad at all. Small enough, in fact, to fit on a USB pen drive if I were to do the project over again today.
I've used a GroovyGameGear KeyWiz Max PS/2 keyboard encoder. I wired it up just using some old CAT5 network cable I had lying around, which worked a treat.
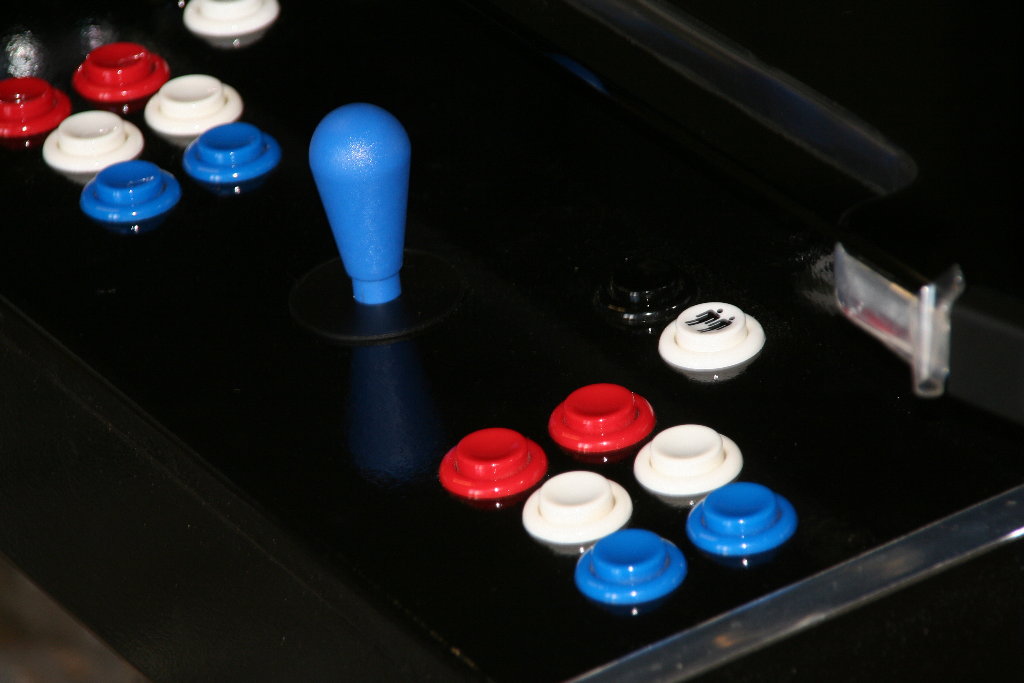
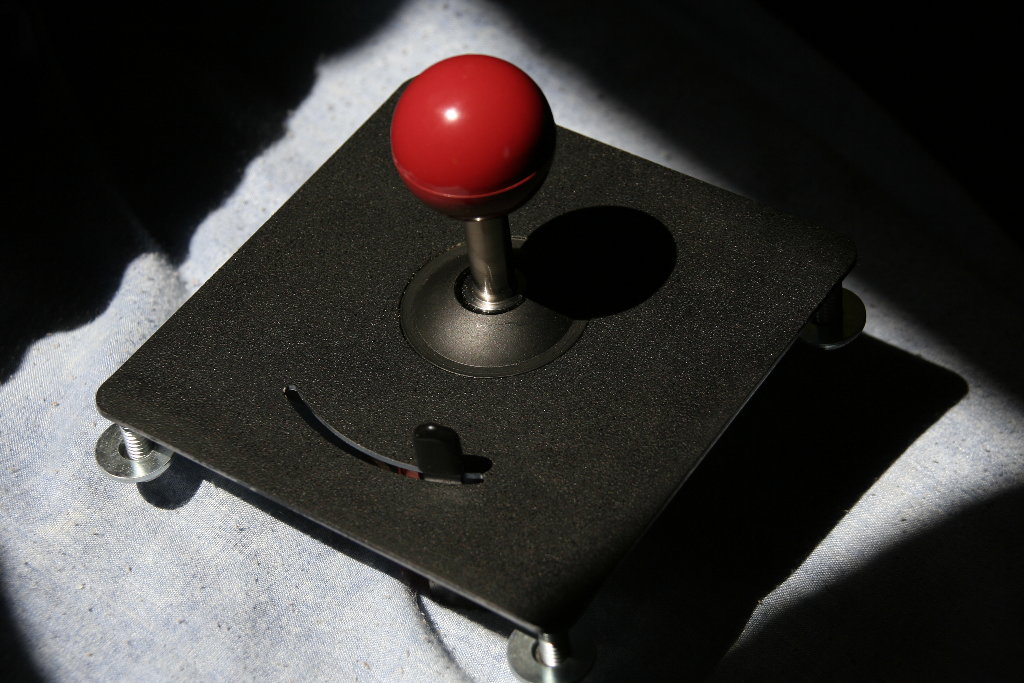
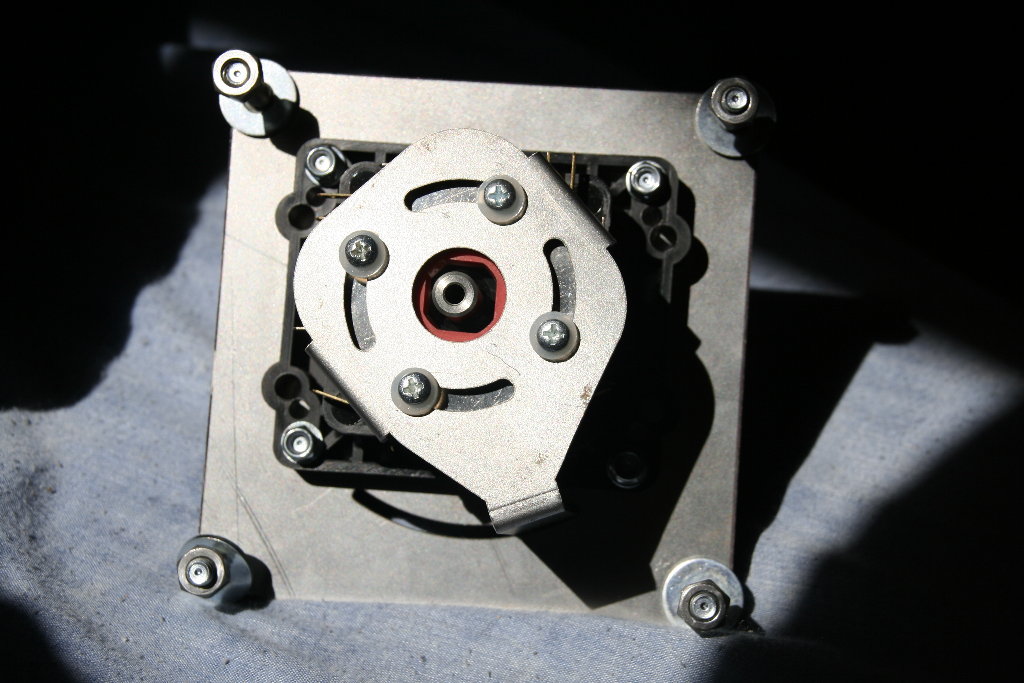
For buttons I've chosen Happ Competition buttons (horizontal cherry microswitches and concave heads). Common as mud. I bought mine from local arcade retailer and top blokes, GameDude Arcades. They also supplied me with the GroovyGameGear OMNI Joysticks (re-badged Suzo 500 "Eurostick" joysticks). These are VERY short throw sticks, and feel nice for 8-way joystick driven shooting games. They're not so great for older classic games like PacMan and Donkey Kong which really need a 4 way stick. They can be set to 4-way mode, but given that I'm a child of the 80's and prefer my vertical shooters, 8-way is how I've got mine set.
The control panels are folded and laser cut stainless steel. At first I attempted to cut all of the button and stick holes myself, and found out very quickly just how painful working with stainless steel is. Were I to do this project over, brushed aluminium would be my material of choice for certain. I went through 3 $20 high-strength drill bits in my first day on the stainless steel panels. Even cutting at very slow speeds with cooling fluid, it was tough going. Eventually I had to give up and get the panels laser cut, adding to the cost. At the end of the project, the panels were by far the most expensive part. The end result is a rock solid, rust and scratch resistant panel that will outlast human kind. Would I do the same thing again? Heck no. I've learned my lesson - I'll leave stainless steel for nice, big, flat kitchen benchtops. My next cocktail CP will be either mild steel or aluminium.
I wired both 1P and 2P on the front side of the cabinet. This allows for 2P shooters like my all time favourite DoDonPachi to be enjoyed by two people. Additionally, I also wired a clone 2P on the far side of the cabinet. For older games like Galaga, AdvanceMAME can be configured to enable the "cocktail flip" option. This allows players to take turns at the game, with the screen flipping around for the far player when it is their turn. The wiring is pretty trivial - each input for 2P is wired twice - once to each side of the cabinet. It means that if 1P wanted to be really mean they could interfere with 2P's game easily in cocktail flip mode, but hopefully 1P is never so nasty.
With the gloss black paint, choice of T-Moulding could have gone anywhere really. I ended up choosing chrome, purely for the "oooh shiny object" factor. It was supplied again by GameDude Arcades.
The legs for the cabinet were knocked up by a local security welding mob. They are simple, welded square-tube steel with grey anodising. The cross-beam is welded in place to take the weight of the cabinet. Some strategically drilled holes let me bolt the legs to the body of the cabinet, keeping it steady.
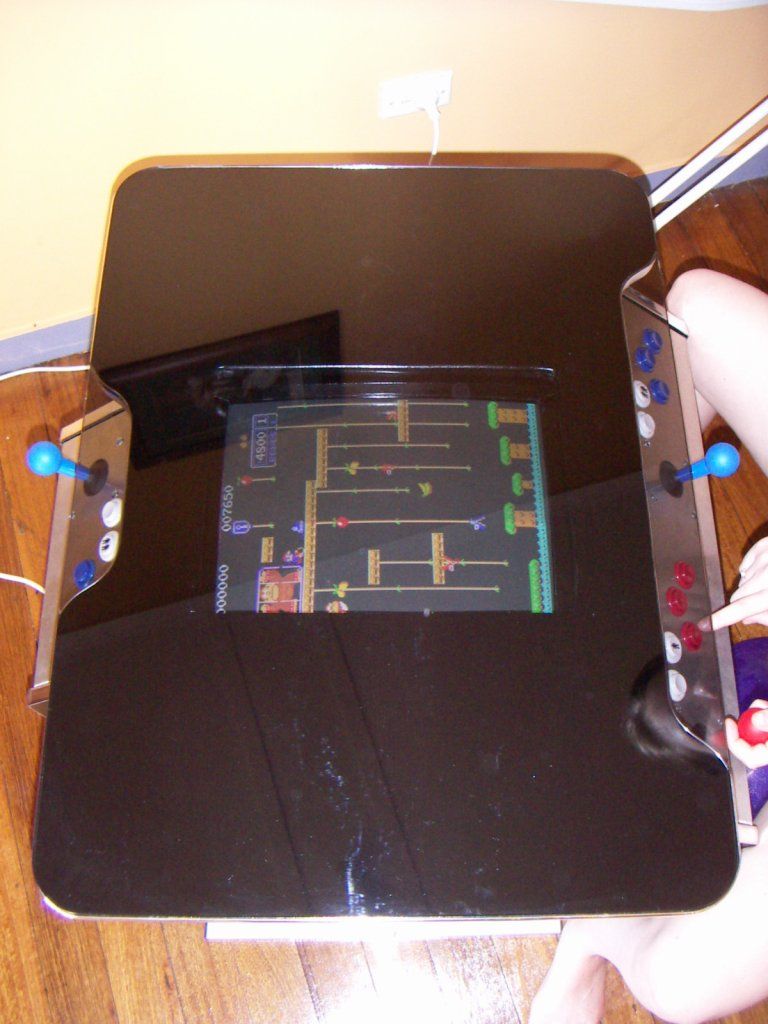

And the project is finally complete. A few test games, and the cabinet proves to work very well, plus it doubles as a nice coffee table for the first few weeks of it's life, until it is banished from the living room, to spend the rest of its days in my games room.
Downloads
Grab the CAD plans in DXF format here.
Grab the CAD plans in PDF format here.
A second build
Some time after this first cabinet was done, I built a similar one for a friend. A slight modification was added to enable more options for vertical and horizontal games.

This time around I added a monitor in a horizontal orientation, viewed from the long side of the cabinet. 6-button controllers were added to enable gaming from the horizontal orientation for any game requiring up to 6 buttons per player.
On the short side of the cabinet, I added a Groovy Game Gear OMNI Stick Prodigy, enabling fast switching between 4-way and 8 way. This enabled any game played in a vertical orientation to be quickly switched between 4 way and 8 way, meaning the player could easily play either older style 80s arcade classics like Pac-Man and Donkey Kong, or switching to newer shooters and other vertical games that required 8-way joysticks.