LuSiD design upgright MAME cabinet
In 2003 I was pondering the various options to acquire an arcade machine, specifically for using MAME. My options at the time were:
1) Convert an existing arcade machine. Not something I wanted to do, as I had no desire to destroy an exisiting piece of arcade history.
2) Purchase a pre-built cabinet online. At the time, in Australia, this was exhorbintently expensive (since then, flat-pack manufacturers have wonderfully filled this niche)
3) Build my own. So be it.
The build
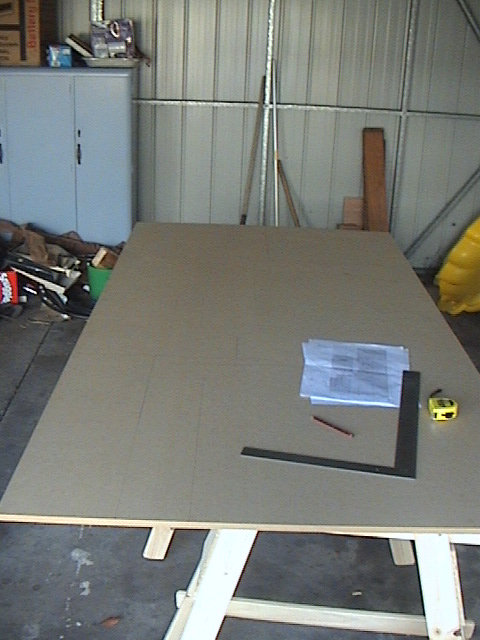
As with everything, it starts with plans (See below), and 18mm MDF.
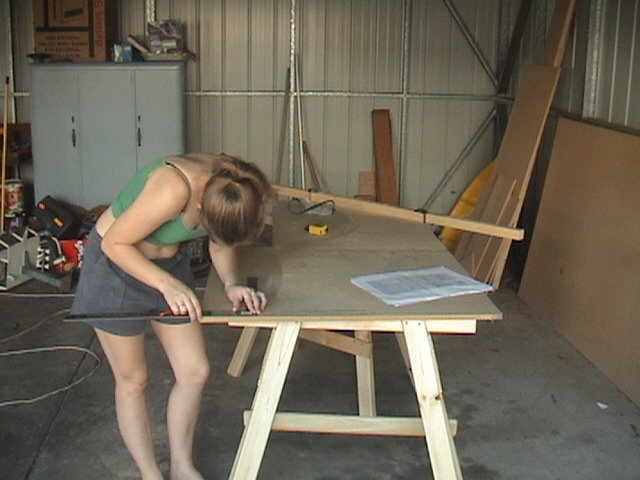
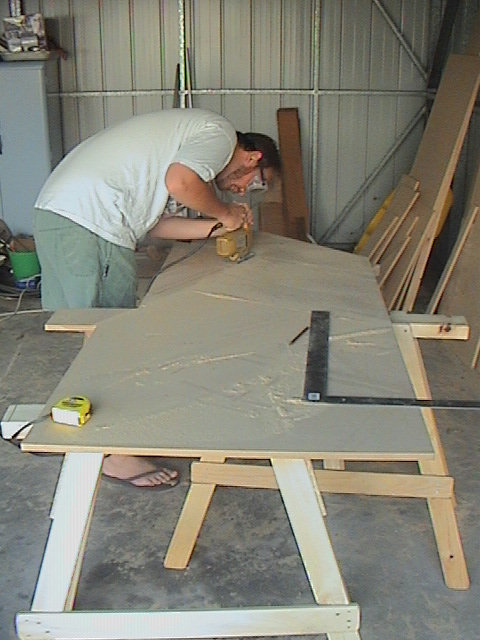
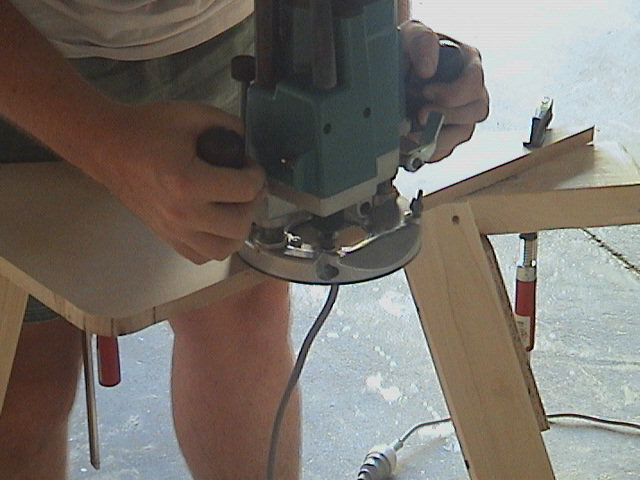
My trusty assistant helps out. Measure twice, cut once.
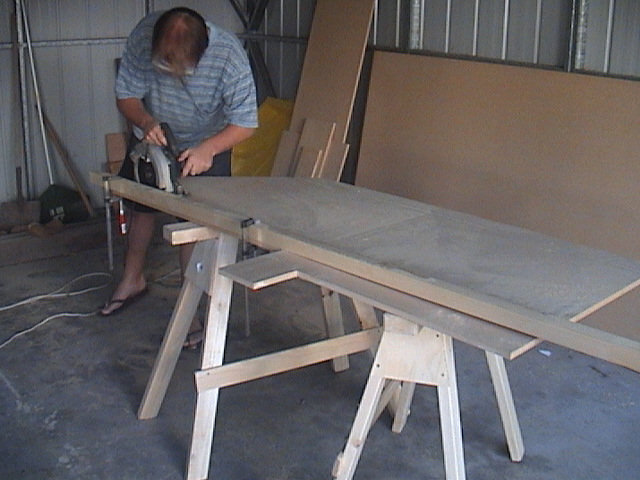
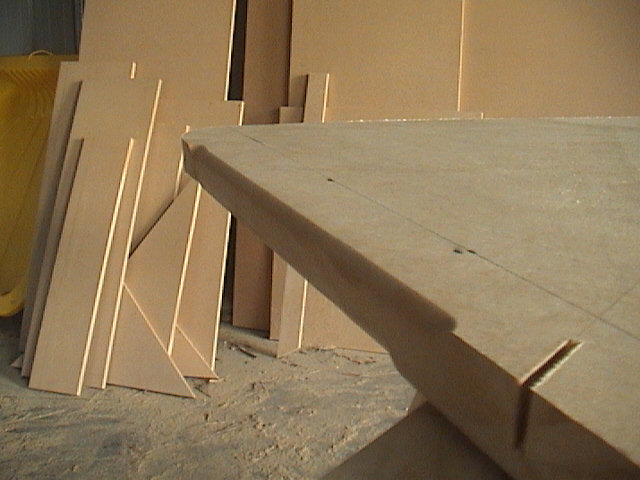
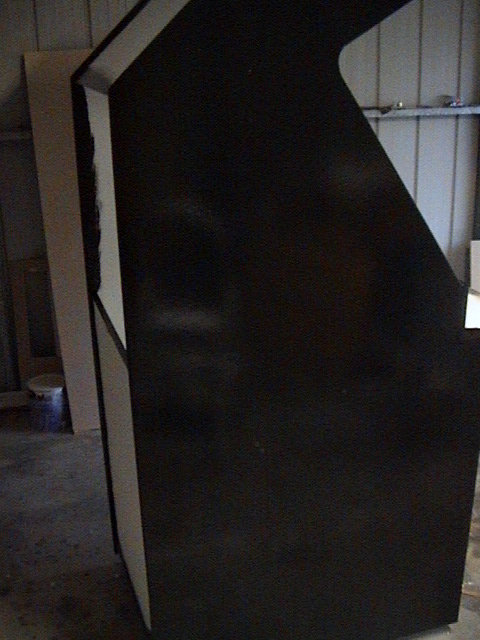
As I adorn my best safety boots, I cut some of the external shape.
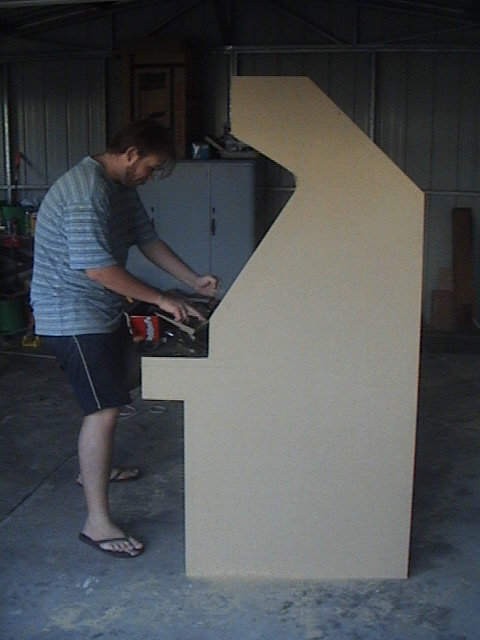
Testing for size and proportions. Looking good.
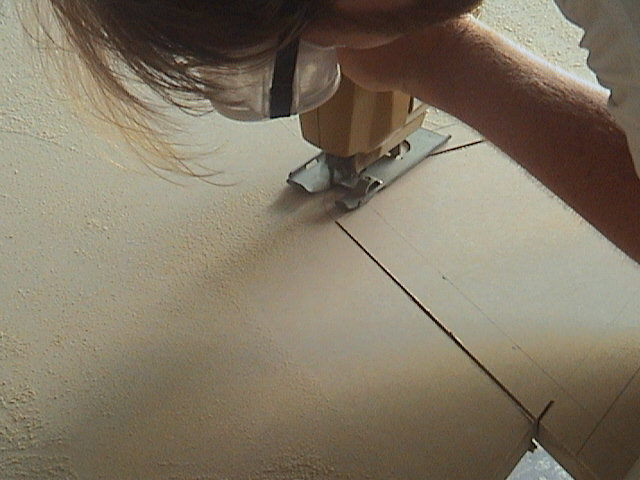
Switching to a jigsaw to do the internal angles, curves and cuts. Still making sure my footware is appropriate.
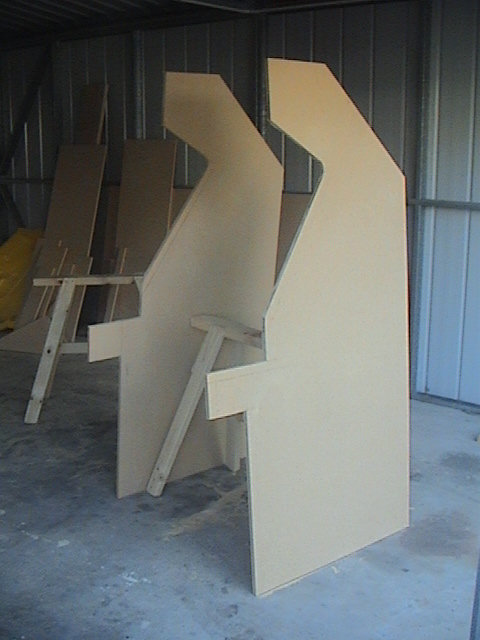
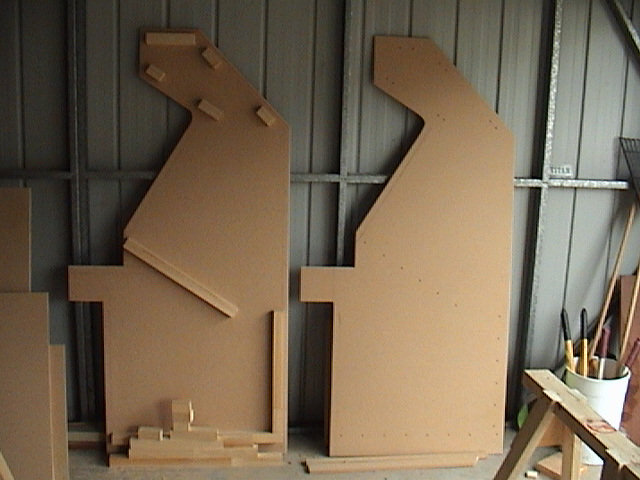
Two sides done. Imagining what this will look like when complete.
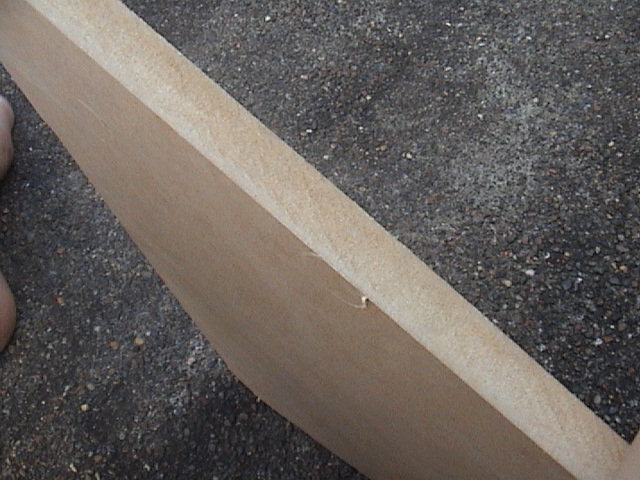
The 6mm curved router bit adds a nice finish to the cabinet. For this particular design I would forgo T-moulding in the name of cost (shipping to Australia is a killer).
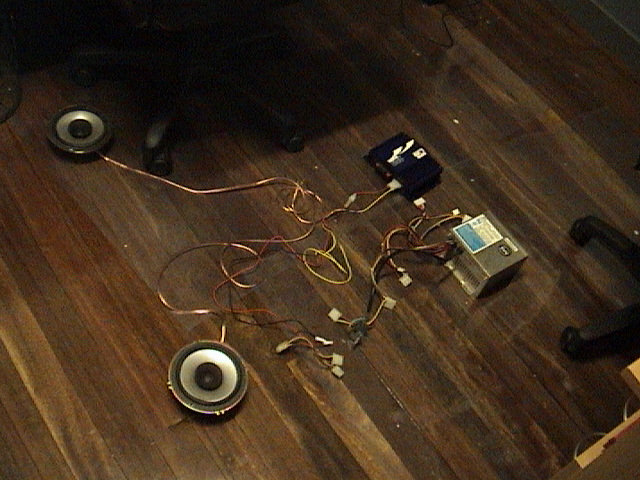
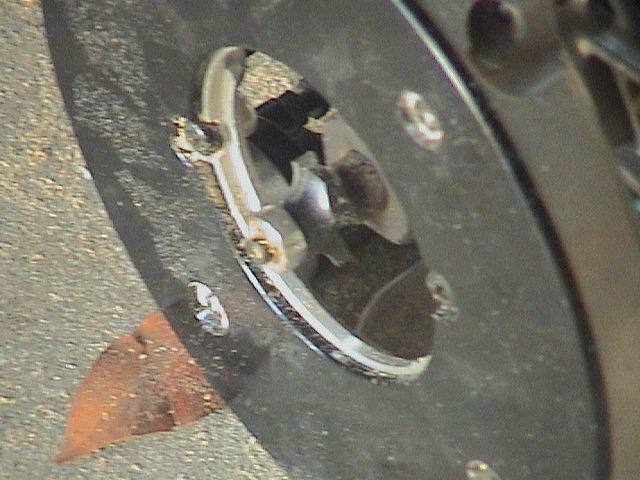
A quick test of the sound system. Using a PC power supply's 12V output, I connected that to a standard car audio amplifier. From there, 4ohm car speakers (nice ones too, Pioneer twin units left over from my wife's recent car speaker upgrade). The sound is superb.
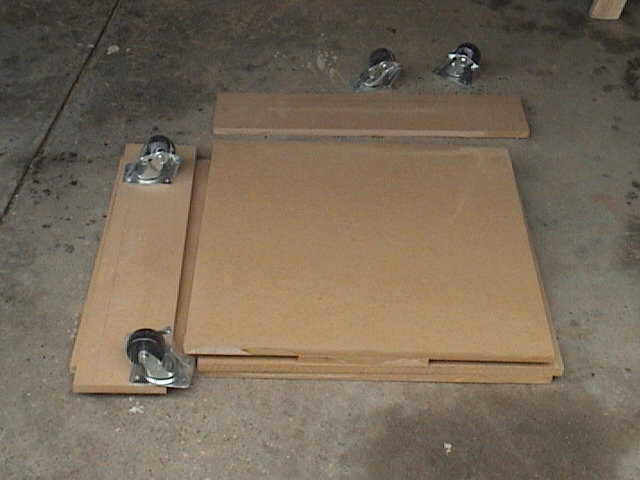
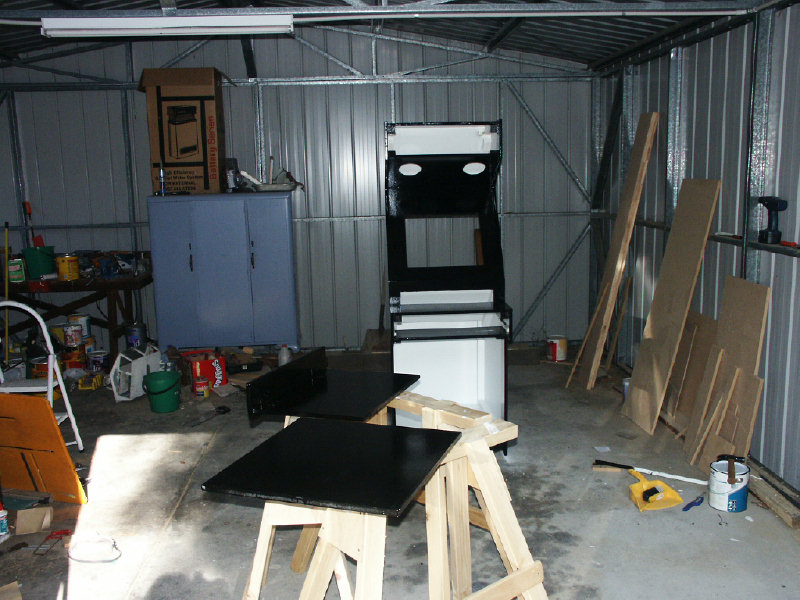
The base is spaced out and planned. Nice and sturdy to hold the entire cabinet.
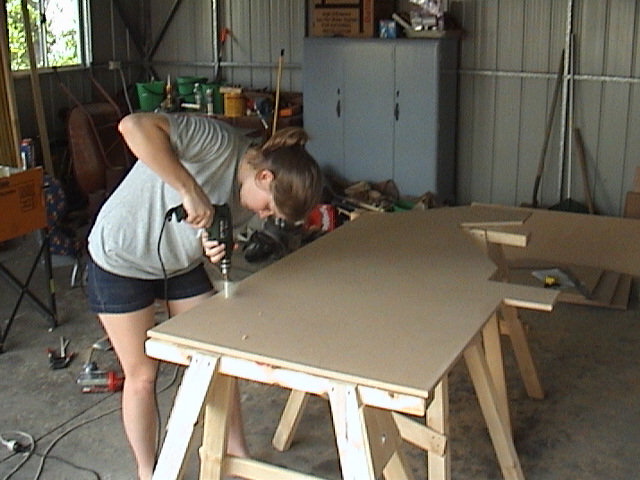
Once again my beautiful assistant helps out, this time pre-drilling the screw holes.
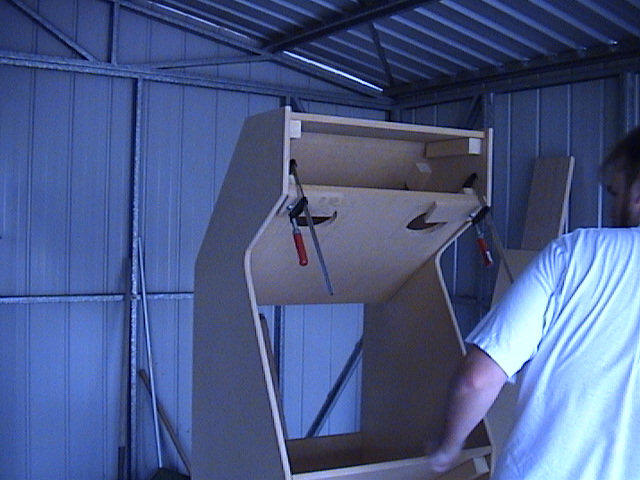
40mm square pine is attached to the cabinet to server as a join between the MDF outer sheets.
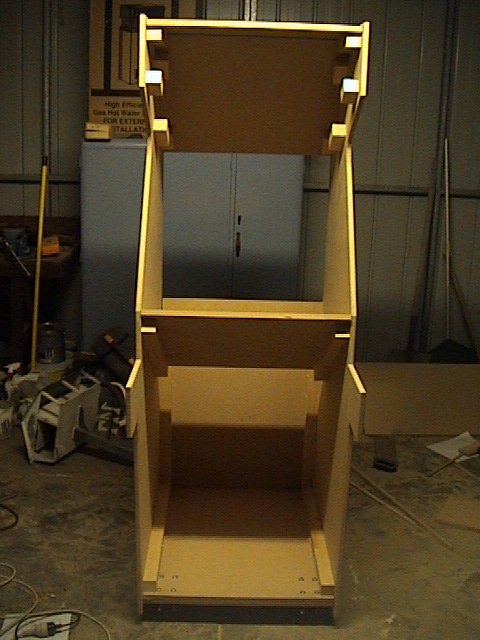

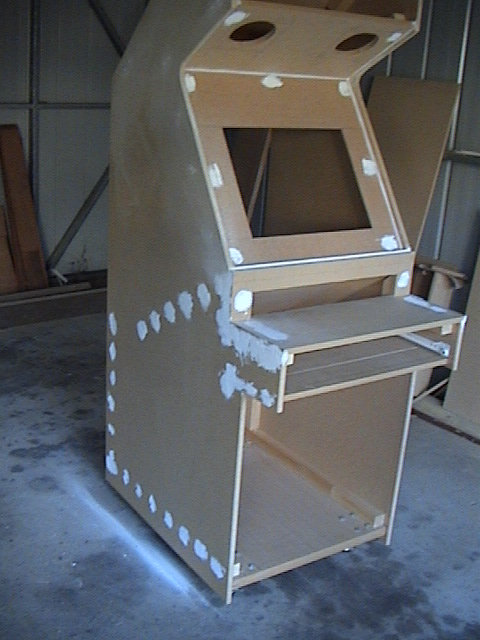
The unit begins to take shape
The speaker shelf goes in.
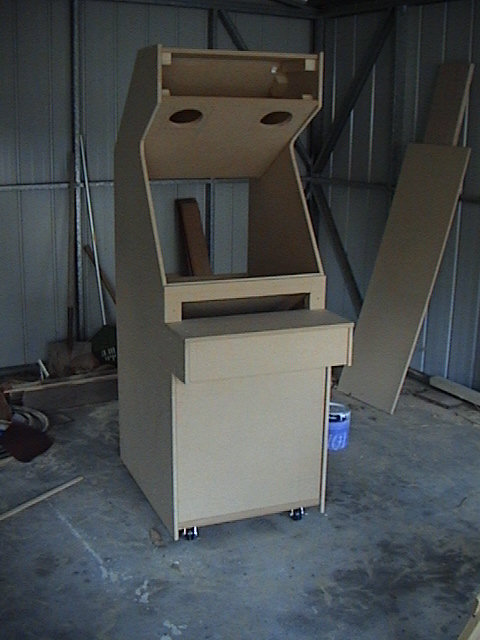
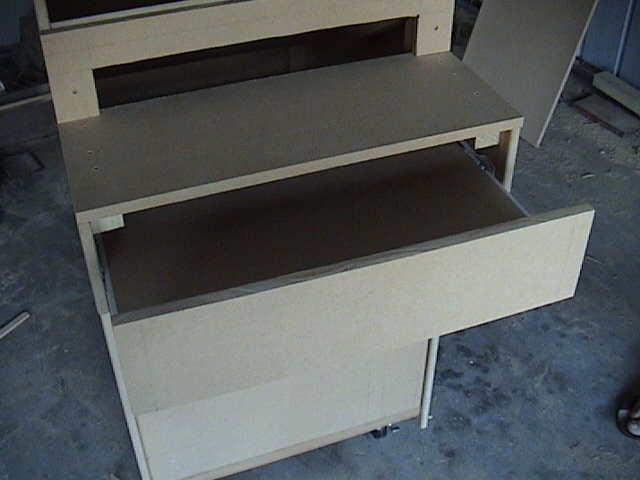
I make a drawer component with standard drawer sliders. This will house (and hide) the keyboard for quick access if I need to configure anything.
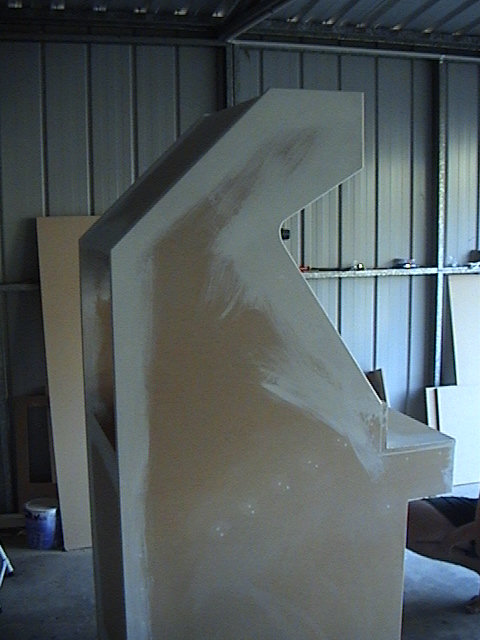
There are two types of woodworkers: those who don't make mistakes, and those who love putty and "Selly's No More Gaps". Guess which I am?
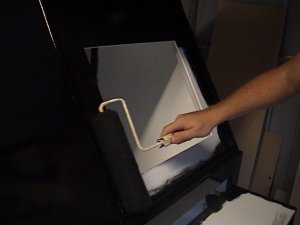
The undercoat goes on. A simple 3-in-1 sealer/primer/undercoat. It keeps the MDF from swelling later on, and ensures the top coats have a nice layer to stick to without drawing into the fibre board.
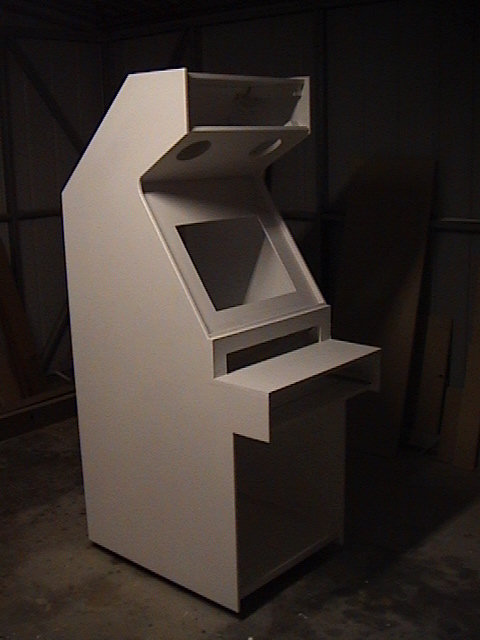
The top coat goes down. Three layers of a nice oil-based epoxy, "Jet Black" colour. Not cheap, but the gloss finish is superb. I use a natural mohair roller that doesn't leave any fluff on the finished paint, and also gives a nice mirror finish without the "orange peel" effect that standard foam rollers give. These photos were taken a loooong time ago with a very early model digital camera. Later photos will illustrate the finish much better.
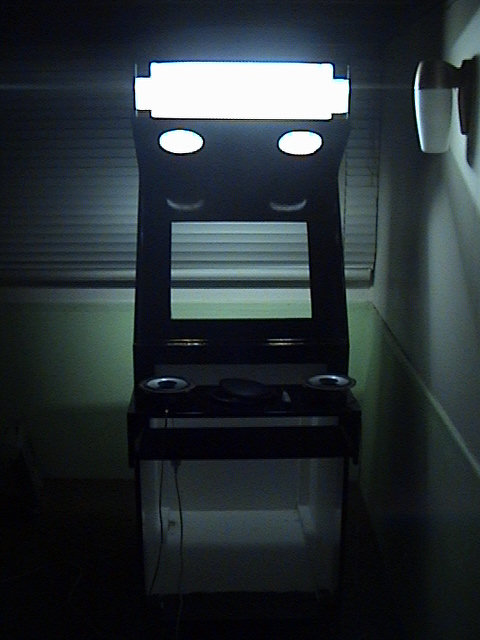
Testing out the marquee light. It's a 240V fluro unit, with plenty of brightness.

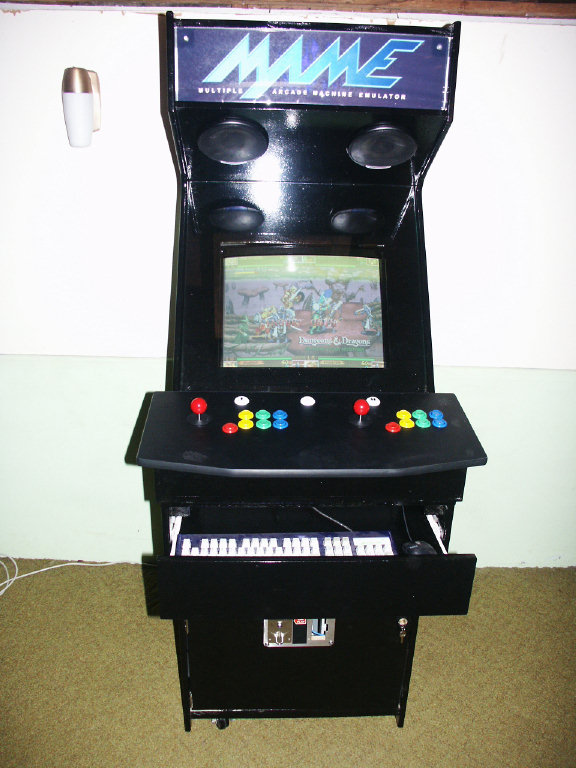
Coin door and control panel are attached. Starting to look like a real machine now.

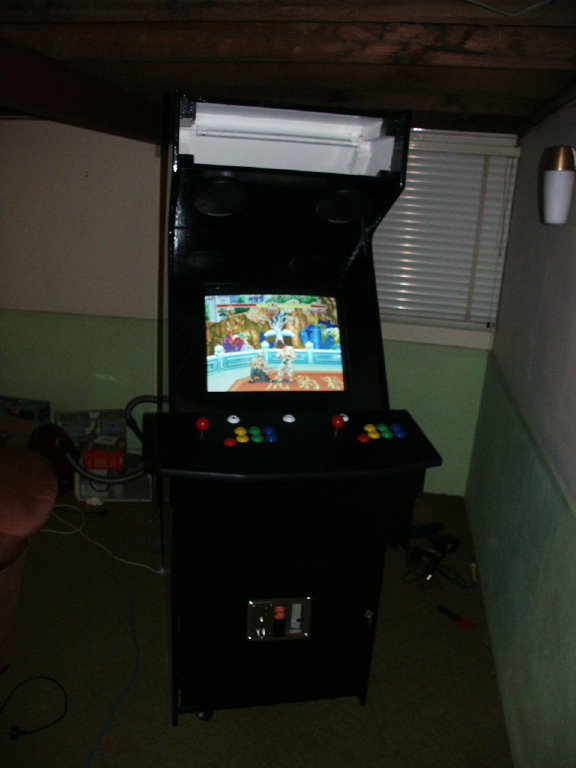
Speakers installed, monitor mounted.
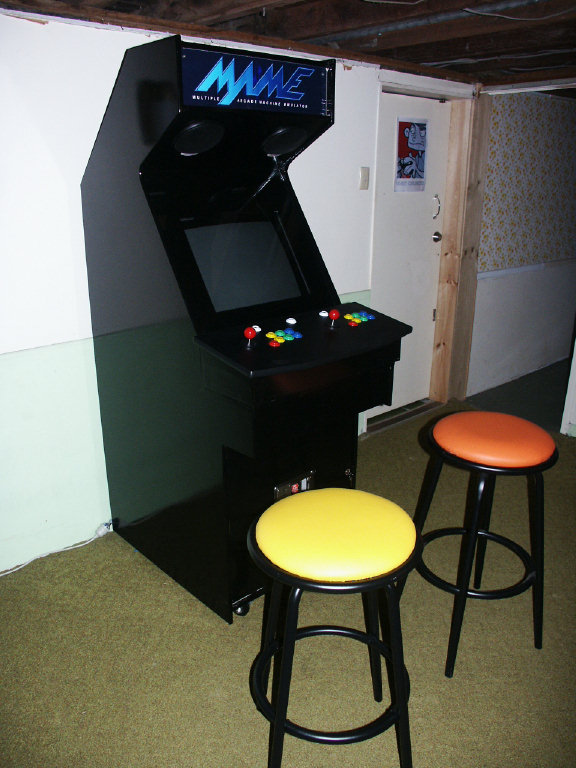
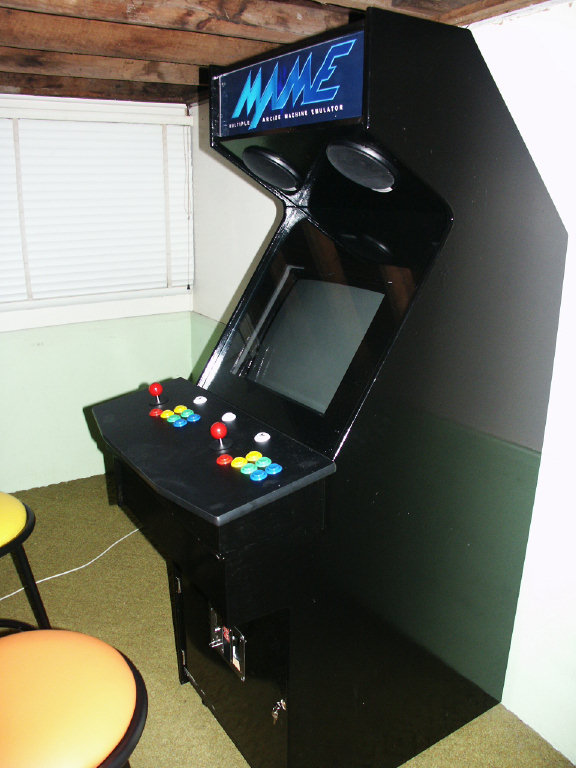
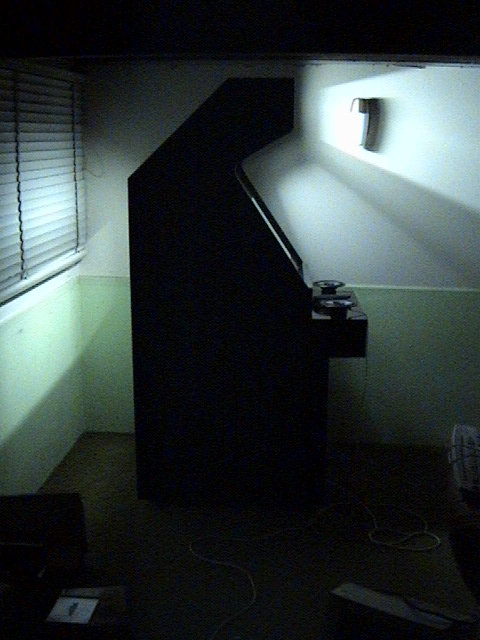
And it's finished! The mohair roller did an amazing job on the final coat of the enamel. Mirror finish.
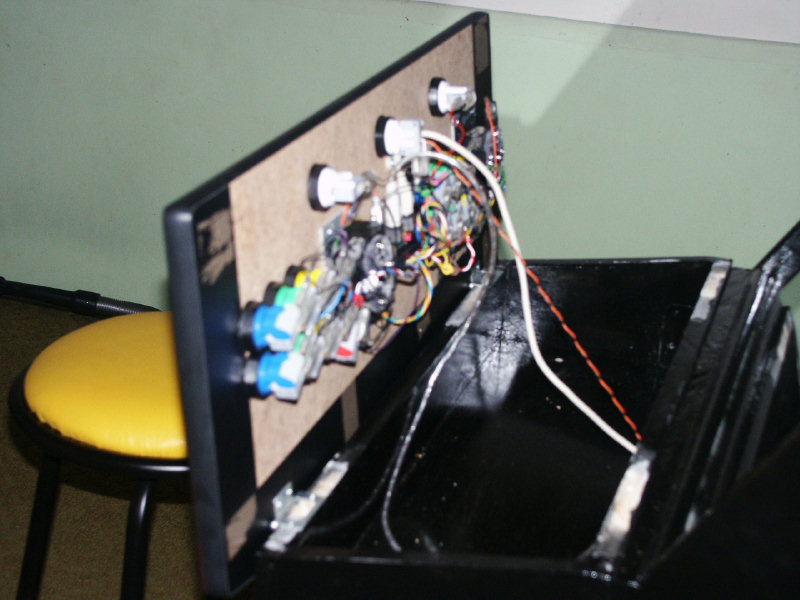

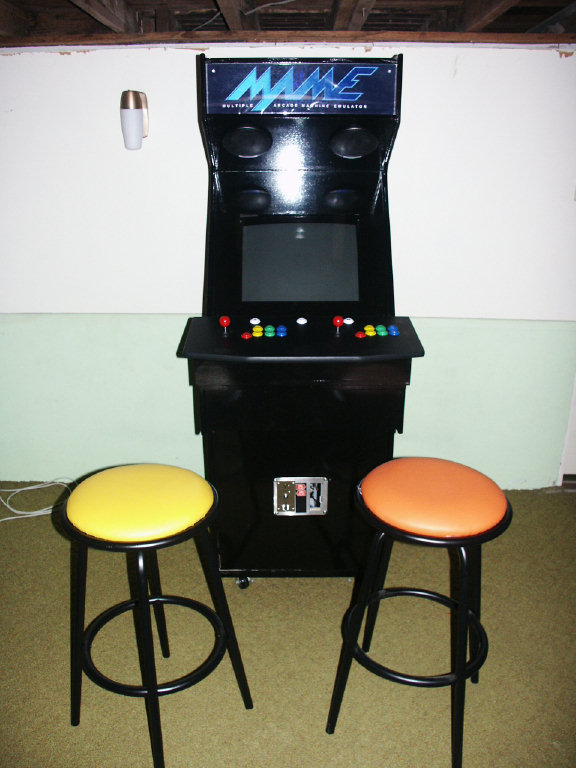
The control panel can flip up via hinges to access the internals. I've installed a keyboard drawer underneath, which hides the keyboard when not needed.

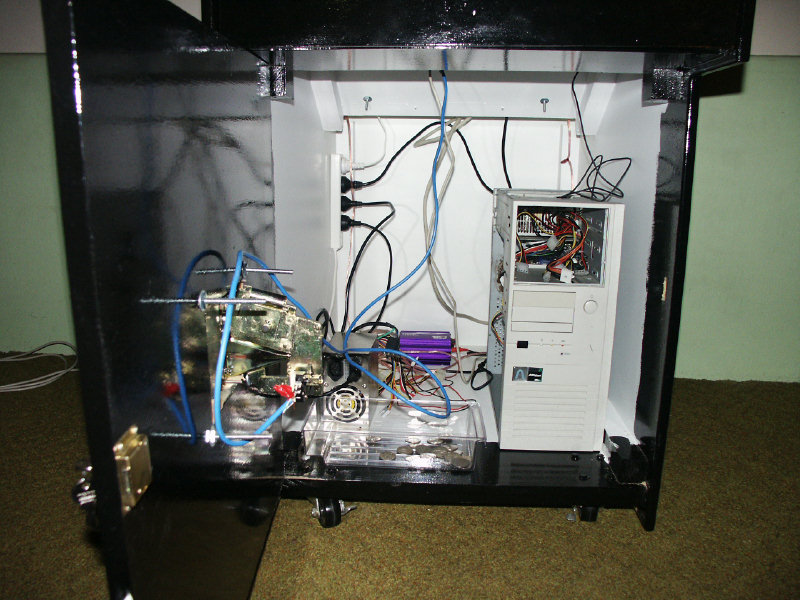
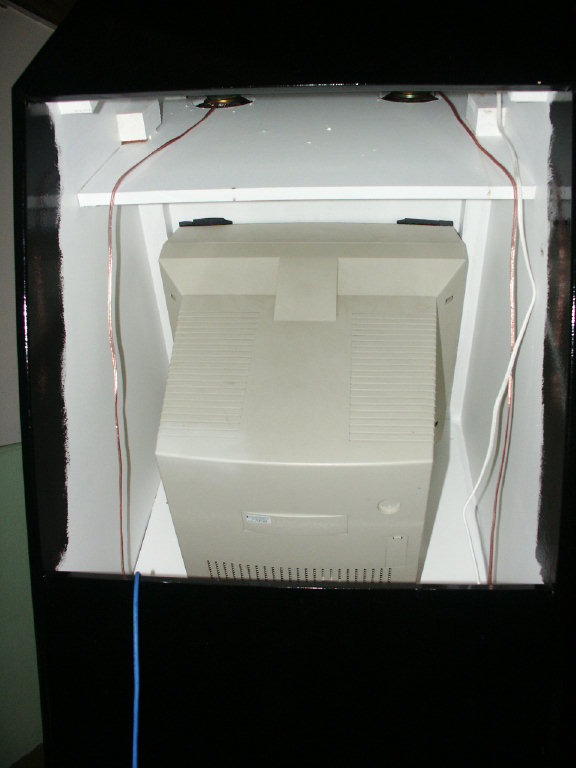
Cabinet in its final resting place. The access door can be opened up to get to the MAME PC inside (since replaced with a Dreamcast) and speakers/amp.